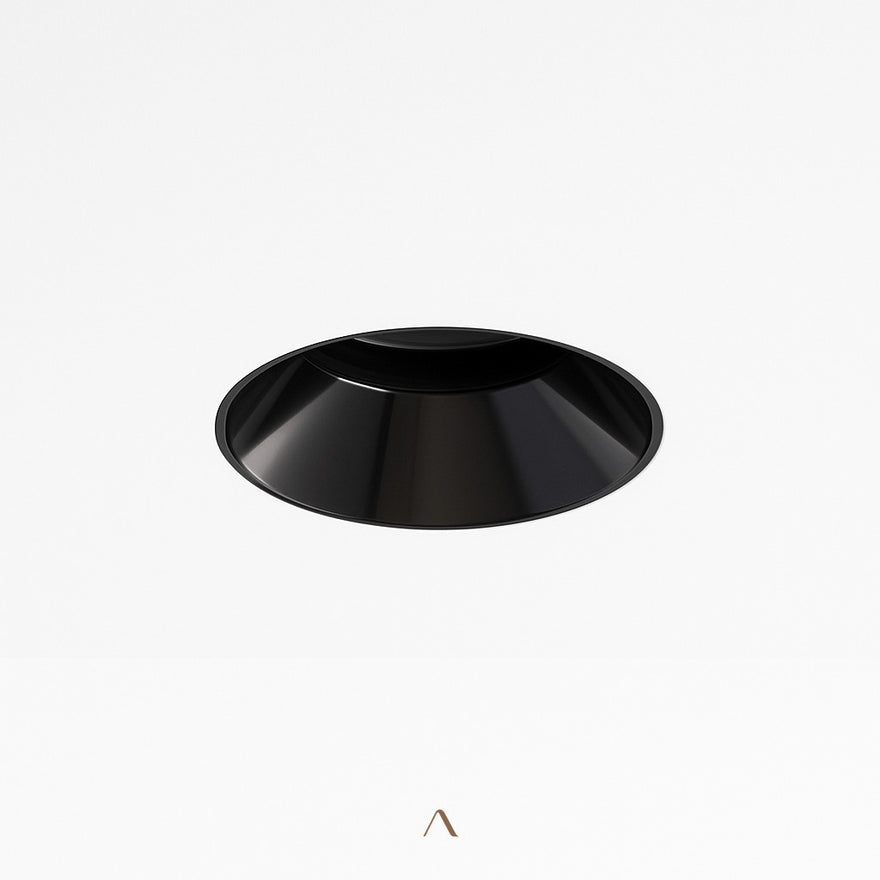


Stratiformis Downlight Trimless aluminium, flush with the ceiling
Coverage that ages—with the piece.
A standard 1-year manufacturer warranty is included with every fixture. Extend to 2, 3, or 5 years of total protection at checkout — and the piece is covered well beyond the install.
- Manufacturing defects — faults in materials or workmanship
- Electrical issues — electrical component failures under normal use
- Finish defects — premature flaking, pitting or discoloration
- Not covered — accidental or physical damage, moisture and corrosion, normal wear and tear, and light bulbs
Every plan covers the same — defects, electrical and finish. Longer plans simply cover for longer. Add-on price scales with order quantity · select your plan in the buy box
- Email our support team at hey@navadecor.co with your claim.
- Provide your order number and a short description of the issue, with photos if helpful.
- Receive a decision within 48 hours. If your claim is approved, we ship a replacement at no cost to you.
Flush and clean—the ceiling stays uninterrupted
- Trimless design — flush to the ceiling, no visible rim
- Single or double configuration for flexible layouts
- Optional anti-glare mesh softens the beam output
- GU10 or MR16 bulb base — bulbs sold separately
- Dimmable on request, sloped-ceiling compatible
Every order is eligible for customization. Frequently requested:
- Adjusted hanging or suspension length
- Custom material finish or paint color
- Modified light emission color or temperature
- Dimmer integration
- Scaled dimensions — larger or smaller
- Complete fixture redesign to your specifications
Complimentary worldwide shipping to 120+ countries. Delivery within 21 business days from your order date.
Need it sooner? Add Priority Processing at checkout to fast-track manufacturing — approximately 10–20 business days to delivery.
14 days from receipt to initiate a return. A 20% restocking fee applies to returns or exchanges not due to defect or damage. To start a return, email hey@navadecor.co.
A standard 1-year manufacturer warranty is included. Extend to 2, 3, or 5 years total coverage at checkout.
- Manufacturing defects — faults in materials or workmanship
- Electrical issues — electrical component failures under normal use
- Finish defects — premature flaking, pitting or discoloration
- Not covered — accidental or physical damage, moisture and corrosion, normal wear and tear, and light bulbs
- Contact our support team via email.
- Provide your order details and a description of the issue.
- Receive a decision within 48 hours. If approved, we ship a replacement at no cost to you.
No trim, no rim—the light is all that shows


Installs flush with the ceiling plane — the fixture disappears, only the beam remains.
Optional mesh insert softens the beam and reduces direct glare for comfort at eye level.
Available single or double — lay out a full room scheme with a consistent fixture language.
The Stratiformis Downlight requires a ceiling void of sufficient depth for the aluminium housing — typically 80–100 mm. It hardwires to a standard junction box and is finished flush with plaster after installation. Professional installation is strongly recommended.
Yes — trimless downlights require precise ceiling cutting and flush plastering to finish correctly. Professional installation by a certified electrician is recommended for the Stratiformis Downlight to achieve the intended seamless look.
The Stratiformis Downlight housing is made from aluminium — lightweight, durable, and dimensionally stable. The white finish is designed to blend with standard plaster ceilings after installation.
A trimless installation means no visible metal ring around the aperture — just an opening in the ceiling that emits light. The result is a cleaner, more architectural ceiling than a standard recessed downlight with a decorative trim collar.
Yes — the Stratiformis Downlight suits homes, offices, retail environments, and hospitality spaces. Its clean profile works wherever a polished, uncluttered ceiling is the goal.
Bulbs are not included with the Stratiformis Downlight. The fixture accepts standard GU10 or MR16 LED bulbs, which are widely available. We recommend a warm white LED (2700–3000K) for residential spaces.
The Stratiformis Downlight accepts GU10 and MR16 LED bulbs — both are standard and widely available. Specify your preferred base type at checkout. GU10 is the more common choice for residential installations.
The optional mesh insert sits at the aperture of the Stratiformis Downlight and breaks the beam into a softer, more diffused output. It reduces direct glare when the downlight is in the sightline of someone seated below — particularly useful for dining and living room installations.
Yes — the Stratiformis Downlight is designed specifically for contemporary, minimalist, and Scandinavian interiors where the ceiling should appear uninterrupted. It also works in transitional spaces where a flush, hardware-free aesthetic is desired.
The Stratiformis Downlight housing is built from durable aluminium for an indefinite structural life. The replaceable GU10 or MR16 LED bulbs are the only consumable — quality LED bulbs last 15,000–25,000 hours before needing replacement.
Design professionals, this one's for you.
Access trade pricing, priority sourcing, and a dedicated account manager. Built for interior designers, architects, and developers procuring at scale.